Create a Relying Party Trust
The following document provides information on creating a relying party trust manually and using federation metadata.
To create a claims aware Relying Party Trust manually
To add a new relying party trust by using the AD FS Management snap-in and manually configure the settings, perform the following procedure on a federation server.
Membership in Administrators, or equivalent, on the local computer is the minimum required to complete this procedure. Review details about using the appropriate accounts and group memberships at Local and Domain Default Groups.
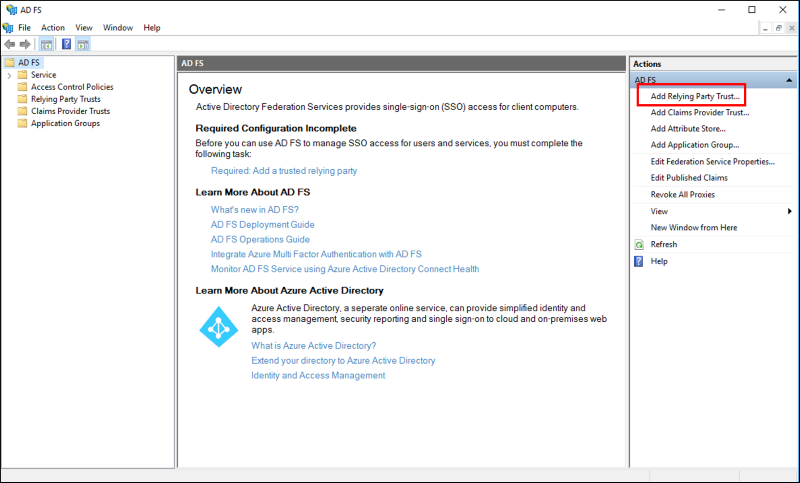
In Server Manager, click Tools, and then select AD FS Management.
Under Actions, click Add Relying Party Trust.
On the Welcome page, choose Claims aware and click Start.

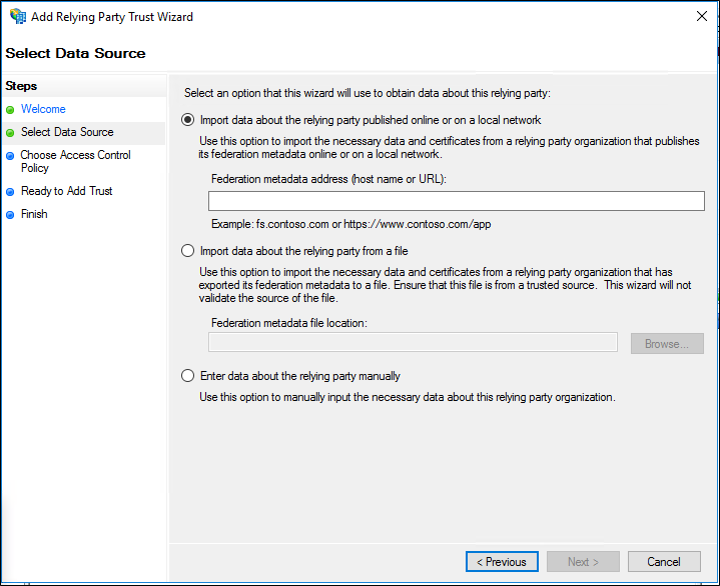
On the Select Data Source page, click Enter data about the relying party manually, and then click Next.

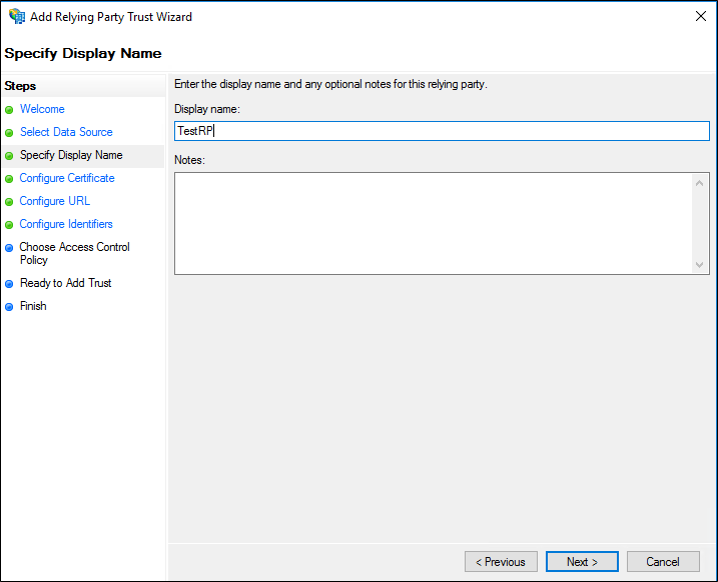
On the Specify Display Name page, type a name in Display name, under Notes type a description for this relying party trust, and then click Next.
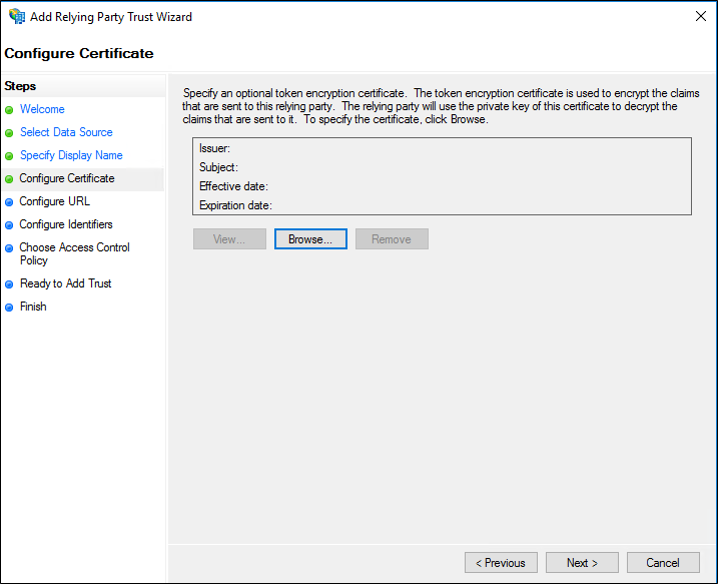
On the Configure Certificate page, if you have an optional token encryption certificate, click Browse to locate a certificate file, and then click Next.
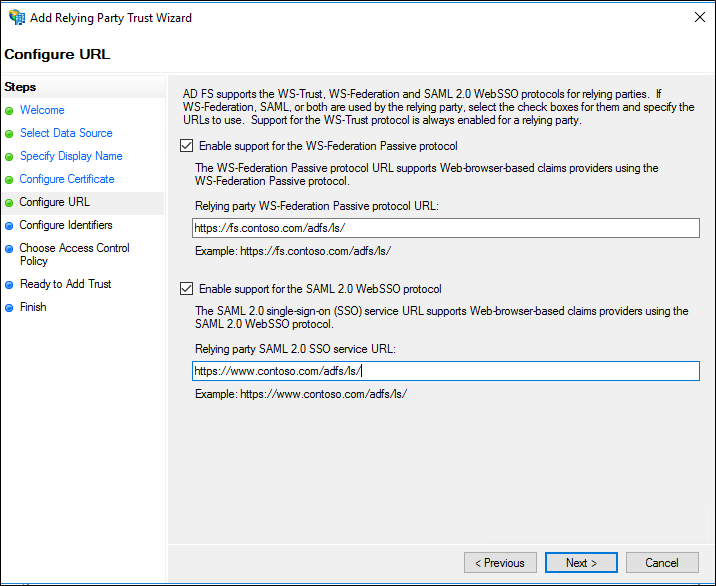
On the Configure URL page, do one or both of the following, click Next, and then go to step 8:
Select the Enable support for the WS-Federation Passive protocol check box. Under Relying party WS-Federation Passive protocol URL, type the URL for this relying party trust, and then click Next.
Select the Enable support for the SAML 2.0 WebSSO protocol check box. Under Relying party SAML 2.0 SSO service URL, type the Security Assertion Markup Language (SAML) service endpoint URL for this relying party trust, and then click Next.
On the Configure Identifiers page, specify one or more identifiers for this relying party, click Add to add them to the list, and then click Next.

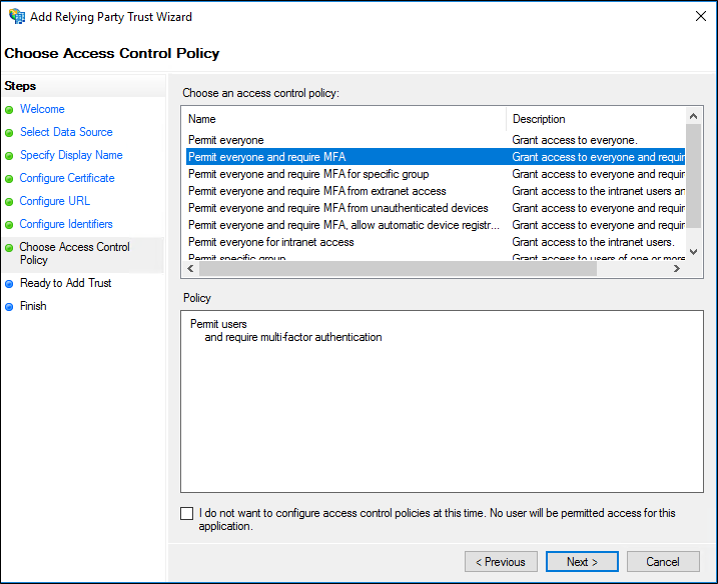
On the Choose Access Control Policy select a policy and click Next. For more information about Access Control Policies, see Access Control Policies in AD FS.
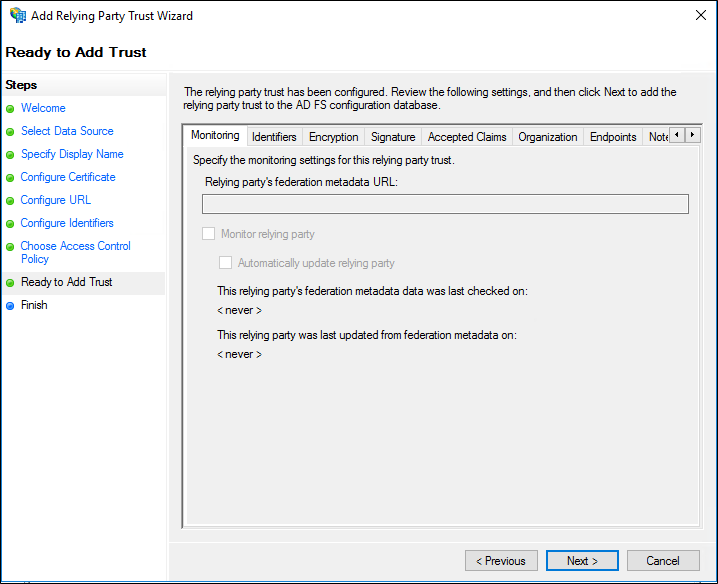
On the Ready to Add Trust page, review the settings, and then click Next to save your relying party trust information.
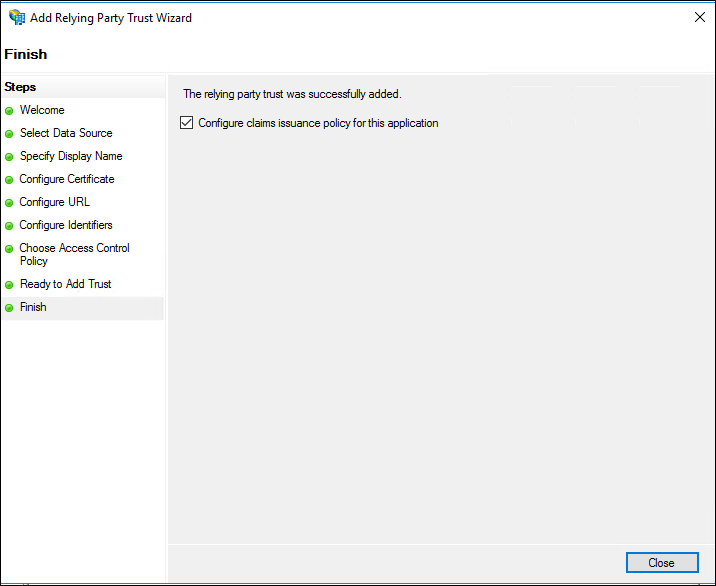
On the Finish page, click Close. This action automatically displays the Edit Claim Rules dialog box.
To create a claims aware Relying Party Trust using federation metadata
To add a new relying party trust, using the AD FS Management snap-in, by automatically importing configuration data about the partner from federation metadata that the partner published to a local network or to the Internet, perform the following procedure on a federation server in the account partner organization.
Note
Though it has long been common practice to use certificates with unqualified host names such as https://myserver, these certificates have no security value and can enable an attacker to impersonate a Federation Service that is publishing federation metadata. Therefore, when querying federation metadata, you should only use a fully qualified domain name such as https://myserver.contoso.com.
Membership in Administrators, or equivalent, on the local computer is the minimum required to complete this procedure. Review details about using the appropriate accounts and group memberships at Local and Domain Default Groups.
In Server Manager, click Tools, and then select AD FS Management.
Under Actions, click Add Relying Party Trust.
On the Welcome page, choose Claims aware and click Start.
On the Select Data Source page, click Import data about the relying party published online or on a local network. In Federation metadata address (host name or URL), type the federation metadata URL or host name for the partner, and then click Next.
On the Specify Display Name page type a name in Display name, under Notes type a description for this relying party trust, and then click Next.
On the Choose Issuance Authorization Rules page, select either Permit all users to access this relying party or Deny all users access to this relying party, and then click Next.
On the Ready to Add Trust page, review the settings, and then click Next to save your relying party trust information.
On the Finish page, click Close. This action automatically displays the Edit Claim Rules dialog box. For more information about how to proceed with adding claim rules for this relying party trust, see the Additional references.
See Also
Feedback
Coming soon: Throughout 2024 we will be phasing out GitHub Issues as the feedback mechanism for content and replacing it with a new feedback system. For more information see: https://aka.ms/ContentUserFeedback.
Submit and view feedback for