First-time setup for Surface Hub 3
Unboxing and hardware setup
Carefully unbox Surface Hub 3 and attach to a stand or mount, per the instructions:
Optionally, connect any peripherals such as a keyboard or mouse.
Prerequisites
Before you start Surface Hub 3 for the first time, ensure that you have the following items:
- A resource account with a supported Microsoft Teams Rooms license. We recommend use of the Teams Rooms Pro license.
- The ability to sign in with a resource account using your credentials or a one-time passcode, as configured in the Microsoft Teams Rooms Pro Management portal.
- Internet connectivity via a wired Ethernet cable (recommended).
Tip
For guidance about deploying Microsoft Teams Rooms on Windows, see: Deployment overview. For an overview of requirements to get the most out of Microsoft Teams Rooms, see: Prepare your environment.
Upon startup, Surface Hub 3 automatically enters first-time Windows setup mode, followed by first-time setup of Microsoft Teams Rooms.
Begin first-time setup
Tip
When you run first-time setup, ensure an internet connection is maintained throughout the setup to automatically download required updates for an optimal user experience.
Press the power button to start the device.

Connect to a network, if prompted.
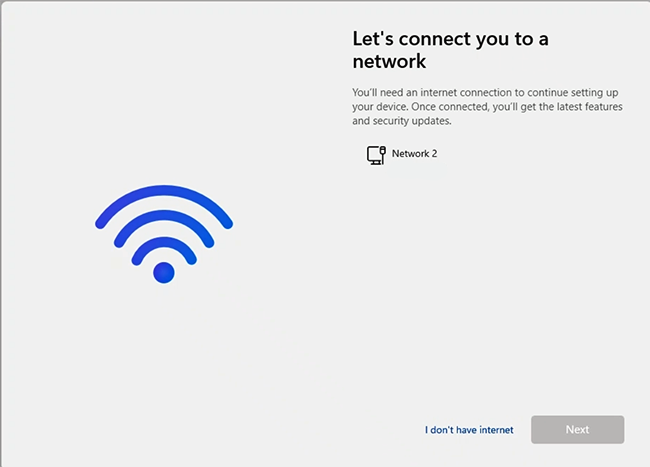
Tip
If you have already attached an Ethernet cable with Internet access, Surface Hub 3 automatically skips this screen. Alternatively, you can connect to a wireless network.
Note
You cannot connect to a wireless network in hotspots (captive portals) that redirect sign-in requests to a provider's website.
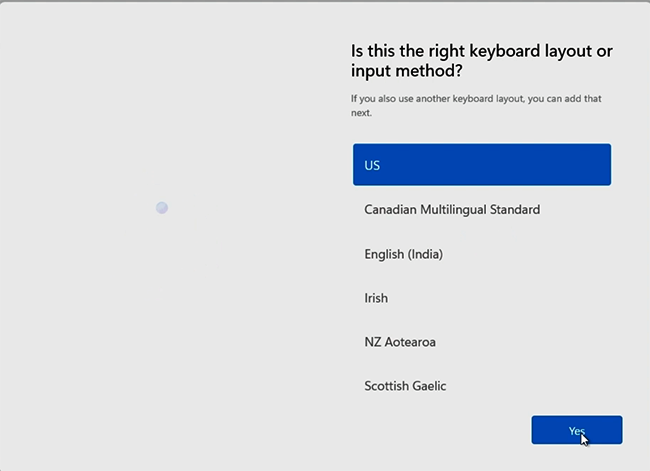
Select your region. Confirm the autodetected region and select Yes.

Confirm keyboard layout. Select Yes.
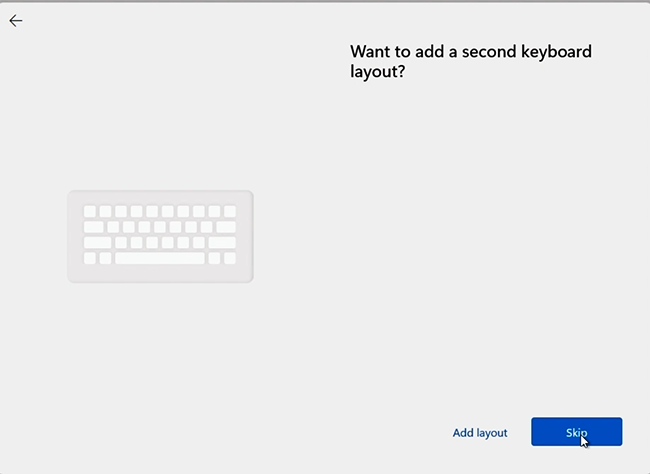
To add a second keyboard, select Add layout. Otherwise, select Skip.
Microsoft Teams Rooms setup
Now, you're ready to begin the Microsoft Teams Rooms setup experience.
- Agree to Microsoft Software License Terms and acknowledgment of the privacy statement at https://aka.ms/privacy. Select Accept.
- If you received a one-time passcode, enter it and select Continue. Otherwise, select Manual setup and enter your Teams resource account and password.
- Select Finish to complete the Microsoft Teams Rooms setup.
Use provisioning packages in Enterprise environments
Alternatively, you can automate the setup process with a provisioning package to ensure a consistent experience across multiple Surface Hubs. This optional technology allows for a streamlined setup process that can be performed without extensive IT intervention, saving time and resources in organizational and enterprise environments.
Surface Hub 3 supports a subset of provisioning pack features available in Windows 10 Team edition (for example, you can't use a provisioning pack to install apps on Surface Hub 3). Specifically, provisioning packs allow you to automatically configure the following features for Surface Hub 3:
- Network profile
- Certificates
- Proxy settings
- Microsoft Entra ID join (Azure AD join)
- To begin, review the Windows 10 Team edition documentation in Create provisioning packages and save the package to a USB thumb drive.
- Insert the USB thumb drive into one of the USB ports when you see the License Agreement page.
- When prompted, choose the provisioning package you want.
- Follow the rest of the steps, and remove the USB drive at the first reboot that occurs in the setup process.
Platform configuration on Surface Hub 3
Your Surface Hub 3 is configured with a Skype profile and an Administrator profile.
Skype profile
The Skype profile automatically logs in when you start Surface Hub 3. It operates in a custom kiosk mode, where the Microsoft Teams Rooms application is the only user-accessible feature for nonadmins. There's no password for this account. If prompted for a password when switching between Windows accounts, press Enter.
Administrator profile
To access the Admin account, sign in with the default password.
Start Surface Hub 3, connect a keyboard and press the Windows key five times to reach the Windows sign-in screen.
Select Administrator and enter the password sfb. This method keeps the Skype user/Microsoft Teams Rooms app session active, which is needed for some admin tasks.
Tip
It's highly recommended to change the default admin password from sfb to a secure password with letters, numbers, and symbols. To learn more, see Surface Hub 3 security best practices
Windows admin account functionality
Once signed into the Administrator Windows account, you have access to standard Windows functionality. For example, you can join Wi-Fi networks, configure Bluetooth devices, or install and run applications.
Manage Group Policy settings in domain-joined scenarios
When integrating Teams Rooms with a domain, it's imperative to establish a separate, dedicated Organizational Unit (OU) specifically for Teams Rooms. This approach enables the application of Group Policy Object (GPO) exclusions directly to this OU, ensuring that only relevant policies affect Teams Rooms objects.
Disable GPO inheritance. It's crucial to disable all GPO inheritance within this OU to prevent the application of unsupported or irrelevant Group Policy settings to Teams Rooms.
Apply GPOs to OU before joining domain. Ensure that machine objects for Teams Rooms are created within this specific OU prior to domain joining. This step is essential to avoid the inadvertent application of default computer OU policies to Teams Rooms, thereby maintaining the intended configuration and security posture.
To learn more about configuring Group Policy in domain-joined scenarios, see the following resources:
Next steps
- Although first-time setup automatically downloads required updates, run Windows Update to ensure you have the latest updates. Sign in to Surface Hub 3 with an admin account, and open Settings > Windows Update > Check for Updates.
- Review Surface Hub 3 security best practices. At a minimum, along with changing the default admin password, follow the instructions to add a UEFI password and implement appropriate physical security measures.
- Check you have the latest Surface Hub Pen firmware.
Feedback
Coming soon: Throughout 2024 we will be phasing out GitHub Issues as the feedback mechanism for content and replacing it with a new feedback system. For more information see: https://aka.ms/ContentUserFeedback.
Submit and view feedback for